Hello Noir! [Part 1]
ZK is a hot topic. But what does it even mean to build a ZK circuit? Let's build a barebone, super basic circuit so you can have a better understanding what its part of.
1. What we're building and the toolchain
What we're building through this series is a SNARK - a Succinct Non-interactive Argument of Knowledge. Barretenberg, the proving backend we'll use, implements UltraHonk - a PLONK-based proof system. PLONK and its descendants are SNARKs. The zero-knowledge part is actually optional (Barretenberg has a --zk flag for that), so what we produce is strictly a SNARK, not necessarily a zkSNARK - but the ecosystem loosely calls everything "zk" since the tooling supports it.
Here's the high-level flow of what we're doing:
- We, the prover (the user), want to prove something - some statement, like "I am more than 20 years old"
- We do this by supplying evidence that backs our statement - a blob of bytes, mathematically encoding our proof in a privacy-friendly way
- Another party, the verifier, checks our proof according to some math formula
- Since the verifier can live on-chain, it can be queried for the result and act upon it
So we use these tools to:
- Noir - write the circuit (the constraints)
- Barretenberg - generate proofs and verifier contracts
- Foundry - deploy and test on-chain
Now, why those? We should be doing Noir ZK right?
Yes, but Noir is only the language of constraints - it tells the system what to prove. We also need to generate a proof (this will be what users submit) and a component to check if it's verifiable. Barretenberg is the proving backend that takes the compiled circuit and your inputs, produces the actual cryptographic proof, and can also generate a Solidity verifier contract. Foundry handles the on-chain side - deploying and testing that verifier. We won't use Foundry in this post, but it shows up in Part 2.
This is a barebone implementation of a ZK app.

2. Setting up the environment
Noir's toolchain depends on Rust. If you don't have it:
curl --proto '=https' --tlsv1.2 -sSf https://sh.rustup.rs | sh
Install Noir via noirup:
curl -L https://raw.githubusercontent.com/noir-lang/noirup/refs/heads/main/install | bash
noirup
Verify with nargo --version.
Install Barretenberg via bbup:
curl -L https://raw.githubusercontent.com/AztecProtocol/aztec-packages/refs/heads/master/barretenberg/bbup/install | bash
bbup
Verify with bb --version.
That's it. You're ready to write a circuit.
3. Writing a sample circuit
Let's try to write a sample circuit. This will be a super dummy, in fact meaningless thing from ZK standpoint - just to understand the process and see how things work. We will build something actually working in the next article.
nargo new hello_world
cd hello_world
Project successfully created! It is located at /home/dev/noir-hello-world/hello_world
This creates Nargo.toml (the project manifest, think package.json or Cargo.toml) and src/main.nr - your circuit.
[package]
name = "hello_world"
type = "bin"
authors = [""]

[dependencies]
And the default src/main.nr:
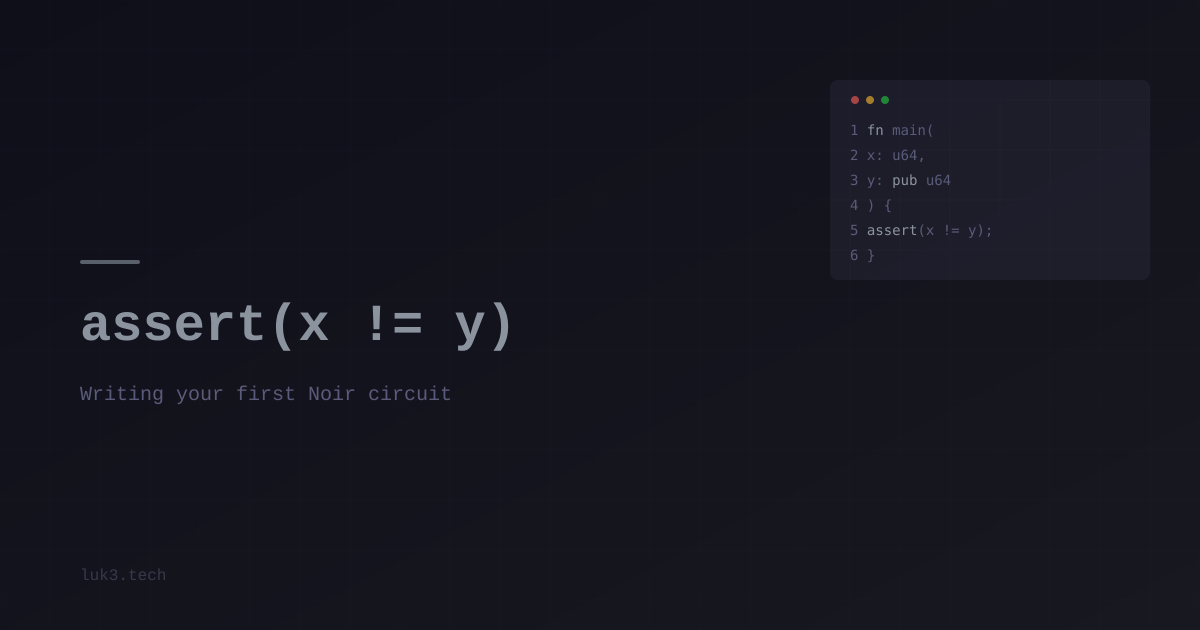
fn main(x: u64, y: pub u64) {
    assert(x != y);
}

#[test]
fn test_main() {
    main(1, 2);

    // Uncomment to make test fail
    // main(1, 1);
}
Our circuit just checks if x is not equal to y. Simple. But notice the types - x is u64 and y is pub u64. In Noir, every input is private by default. If you want an input to be visible to the verifier (and to the world), you mark it pub.
So here, x is private and y is public. When a proof is generated, the verifier can see y but learns nothing about x. The proof only guarantees that some value of x exists that satisfies the constraint.
Here's a more intuitive example - imagine an age verification circuit:
fn main(age: u8, pub min_age: u8) {
    assert(age >= min_age);
}
Here min_age is explicitly set to public. While we generate the proof, age is not revealed, while min_age is public - anyone can see you're checking against 18. The proof says "this person is old enough" without revealing whether they're 19 or 90.
Now, we can run:
nargo check
This validates your circuit and creates a Prover.toml file - a template for your inputs:
x = ""
y = ""
Let's input some values:
x = "2"
y = "1"
And run:
nargo execute
[hello_world] Circuit witness successfully solved
[hello_world] Witness saved to target/hello_world.gz
The circuit compiled, the inputs satisfied the constraint (2 != 1), and nargo saved the result.
And what if we tried to prove something that does not meet constraints? Change Prover.toml so both values are equal:
x = "2"
y = "2"
Run nargo execute again:
error: Failed constraint
  ┌─ /home/dev/noir-hello-world/hello_world/src/main.nr:2:12
  │
2 │     assert(x != y);
  │            ------
  │
  = Call stack:
    1. /home/dev/noir-hello-world/hello_world/src/main.nr:2:12

Failed to solve program: 'Cannot satisfy constraint'
The inputs don't satisfy the rules. No witness is generated, no proof to produce.
4. What did nargo just produce
Look in the target/ directory. You'll find two files:
hello_world.json- the compiled circuit (ACIR) in a structured format. It contains the constraints and instructions that define your program after compilation. This is generated bynargo compileand doesn't depend on your specific input values - the same circuit can be used with different inputs.hello_world.gz- the witness. This contains the specific values (both public and private) that satisfy the constraints. This is generated bynargo executeand does depend on what you put inProver.toml.
These are two different artifacts, not compressed and uncompressed versions of the same thing.

To generate an actual cryptographic proof, you need both: the circuit (what to prove) and the witness (the values that satisfy it). That's where Barretenberg comes in.
5. What's next
So we have constraints (not equality requirement) and a proof that we were able to achieve that. But what nargo execute produced is not a cryptographic proof - it's just a confirmation that your inputs work. A verifier contract can't do anything with a .gz file.
I don't want to make articles too long. Because people tend to be scared and walk away when they see the scrollbar - so I moved that part to Part 2. In Part 2, we'll use Barretenberg to take the compiled circuit and witness, generate an actual cryptographic proof, verify it locally, and generate a Solidity verifier contract for on-chain verification.
Part 2 - Generating and verifying proofs
Recommended reading
- Hot Chocolate - beginner's guide to Noir
- NoirJS app tutorial - official Noir docs
- vkpatva/noir - example Noir circuits repo
- Barretenberg - Aztec guide to Barretenberg